
Our Building Process
- Elisa

- May 15, 2025
- 5 min read
Updated: Dec 9, 2025
Dear Friend,
We have exciting news! Mickey and I have started a company that designs and sell house kits, similar to the one we built here in the summer of 2024. We'll be introducing our company name and website soon, but in the meantime, I thought I'd show the simplified process of building the shell of the house in photos. There is a lot involved with every step (as you know by reading my blog this past year!), but in the interest of giving a broad overview, I'm just giving snapshots of the basic steps. :)
Here we go ...
Start with a buildable lot, and a location for the house site, driveway, septic/sewer, water, electric/cable tie-ins.

Decide on house size / design / orientation.


Once design and location are set, clear and level the land, and build the foundation.

Along the perimeter of the foundation, set the wooden sill, which is held in place by the anchor bolts embedded in the concrete.

Build the skeleton of the house one "bent" at a time. Since we were building a 1.5 story house, our bents included the beam to support the second floor, and later we would add the the roof rafters (top pieces of wood shown below).

Nail the first bent, straight, square, and plumb, to the sill.

Repeat this process (we did it 13 more times), bracing the bents with scrap 2x4s to keep the spacing correct and to prevent them from toppling.

Tie bents together with the 2x6 decking that becomes the first floor's ceiling and the second floor's floor. The single story house would not have this step - or the crossbeams connecting the posts together.

Once the decking is done, build each roof rafter, sandwiching a collar tie across for support, and this structure interlocks into the top of each post. One story houses attach the posts directly to the rafters and then erect them in one step.

Repeat this process (we did it 13 more times), bracing the rafters temporarily to stay in place.

Attach 1x8 tongue-and-groove sheathing across the posts and removed the bracing. This sheathing becomes the interior walls. Also cut out the sections where windows and doors would go.

Rafters go up, and sheathing goes around.

A view from the inside. It feels like a house already!

Continue the sheathing up the rafters to form the second floor ceiling. Because of the wider span of this house (24 feet), we added additional support posts a few feet in.

Attach the house wrap.

Install sheets of insulation. The thickness and R-value of the insulation required will be determined by your local code.

Secure the insulation with wood strapping. We needed 3 inches of insulation on the walls and 6 inches on the roof.

Install the windows.

Insulation and strapping on the walls and roof complete, and windows installed.


Secure metal roof panels to the strapping. The strapping also provides an air space so that it is a "cold roof" that doesn't touch the house, which increases energy efficiency.

We opted to stain and then paint our wooden siding before installing, but we could have done this step later - or not at all.

Secure siding to the strapping, which also provides an air space for better energy efficiency and more longevity for the siding. We're so close to finishing the shell!

Installing the doors was a bit trickier than the windows, but we figured it out.

Ta-da! The building envelope is complete!


At this point, we could add a porch, a deck, an addition ... but for now, this house is strong and sturdy, warm and cozy, and was ready just in time to hunker down there for the winter. We couldn't believe how comfortable it felt, even on the most frigid New England days - and the energy bills were so low!
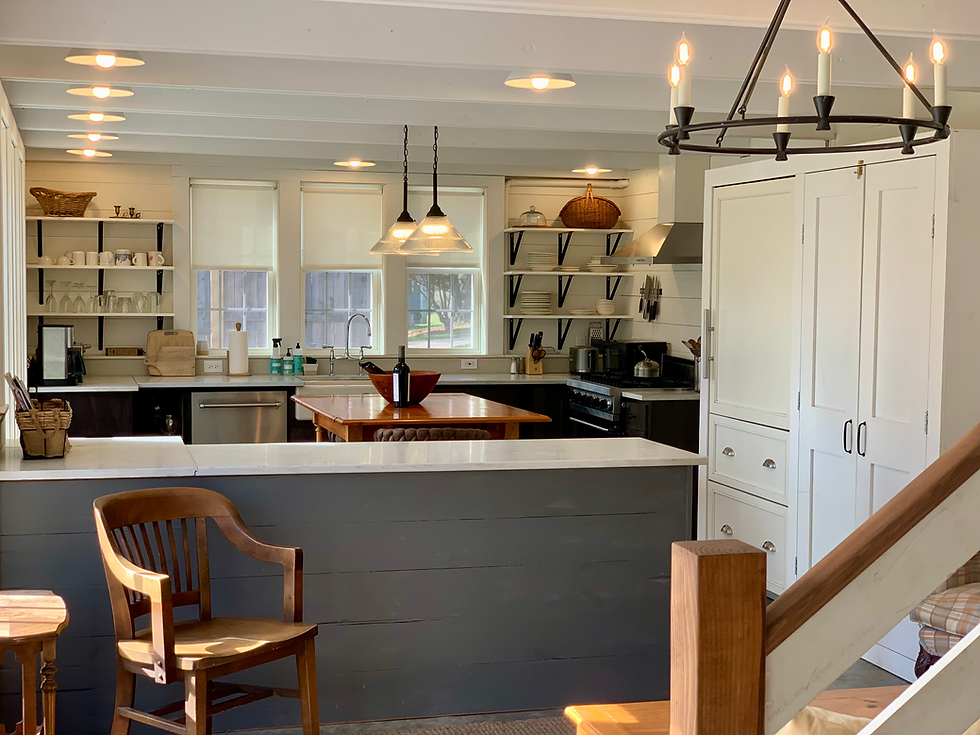
I'll do a post on the interior at a later date, but you can see the latest photos of this finished house here.
xo,

P.S. Our oldest daughter, Jordan, just graduated from St. John's College in Annapolis, Maryland, and we couldn't be prouder!

P.P.S. Now where will we find a group of would-be-carpenter college kids for our next build? As architect Léon Krier points out, "the apprenticeship of traditional craft skills [must] be considered alongside science and the humanities as one of the three privileged ways of awakening and training the mind and the body."


Comments